安装debug工具
sudo apt install gdbserver 进入工作空间,编译程序
这里需要注意!!!编译需要加额外参数(–cmake-args -DCMAKE_BUILD_TYPE=RelWithDebInfo),否则无法debug,具体如下:
colcon build --symlink-install --cmake-args -DCMAKE_BUILD_TYPE=RelWithDebInfo修改launch文件,增加一条命令
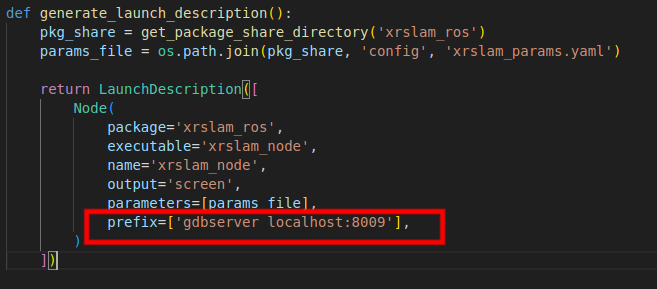
prefix=['gdbserver localhost:8009']端口号可以任意指定,不要跟常用端口产生冲突就行。
编写vscode debug脚本
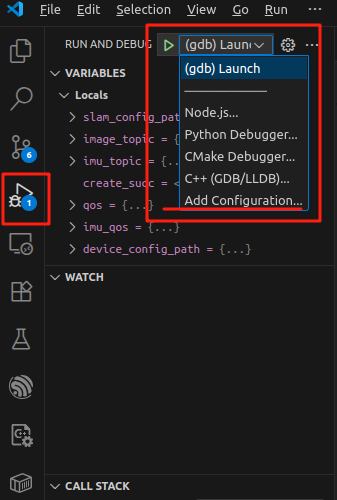
开始编写命令:
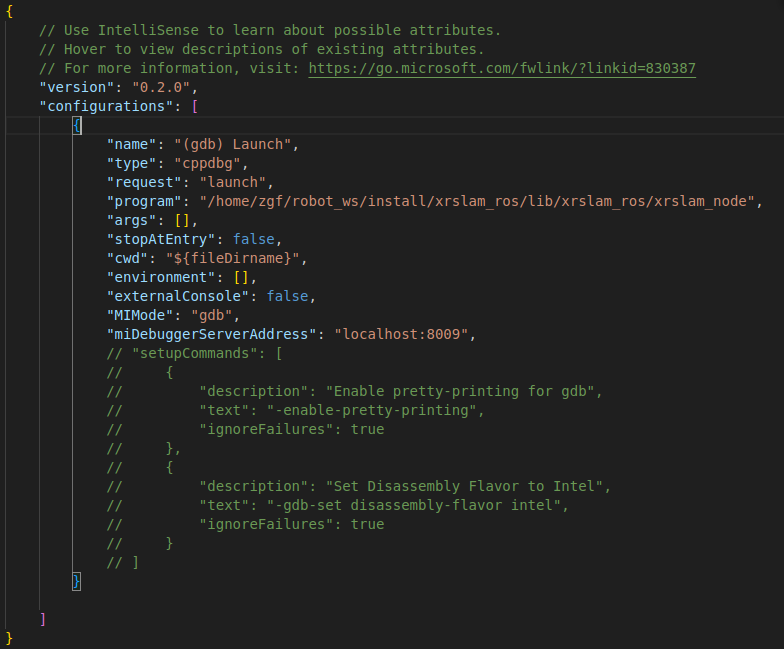
具体如下:
{
    // Use IntelliSense to learn about possible attributes.
    // Hover to view descriptions of existing attributes.
    // For more information, visit: https://go.microsoft.com/fwlink/?linkid=830387
    "version": "0.2.0",
    "configurations": [
        {
            "name": "(gdb) Launch",
            "type": "cppdbg",
            "request": "launch",
            "program": "/home/zgf/robot_ws/install/xrslam_ros/lib/xrslam_ros/xrslam_node",
            "args": [],
            "stopAtEntry": false,
            "cwd": "${fileDirname}",
            "environment": [],
            "externalConsole": false,
            "MIMode": "gdb",
            "miDebuggerServerAddress": "localhost:8009"
        }

    ]
}
其中:
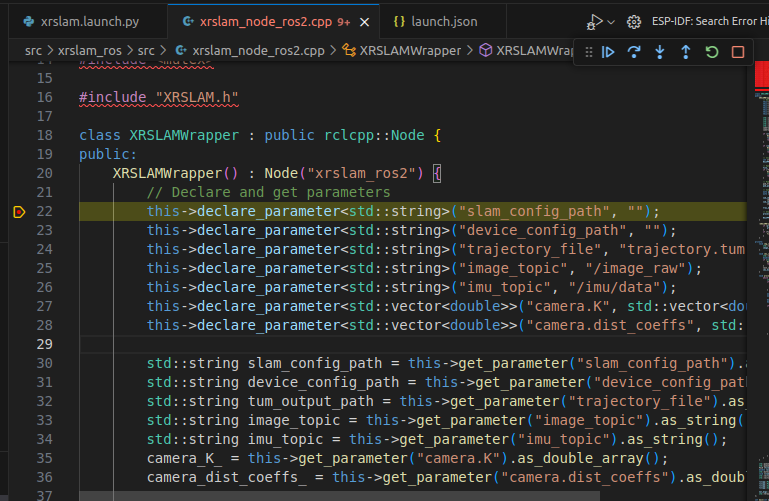
- program:表示需要debug的节点
- miDebuggerServerAddress:表示对应的debug主机和端口,必须和前面launch文件中的主机端口匹配
进行debug
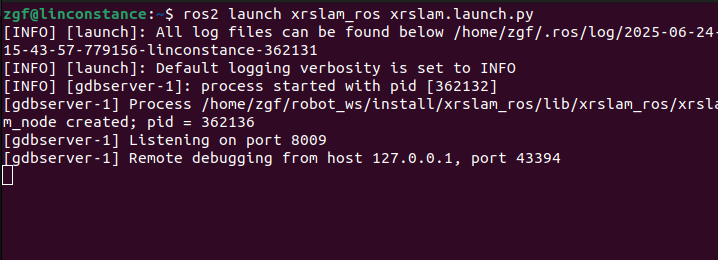
终端里面先正常运行程序,此时会提示等待远程debug命令:
接着再运行vscode debug,
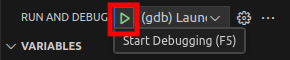
成功!!!